
How to Group Layers in Photoshop
There are two ways to group layers in Photoshop. One is to click on a layer and hold down the Option or Alt keys. The pointer will then change to two overlapping circles. Clicking on the pointer will either group the layer with the layer above it or ungroup it. You can also select a layer and then group it with another layer in the Layers palette. After you group the layers, you can then mask the layers contained within them.
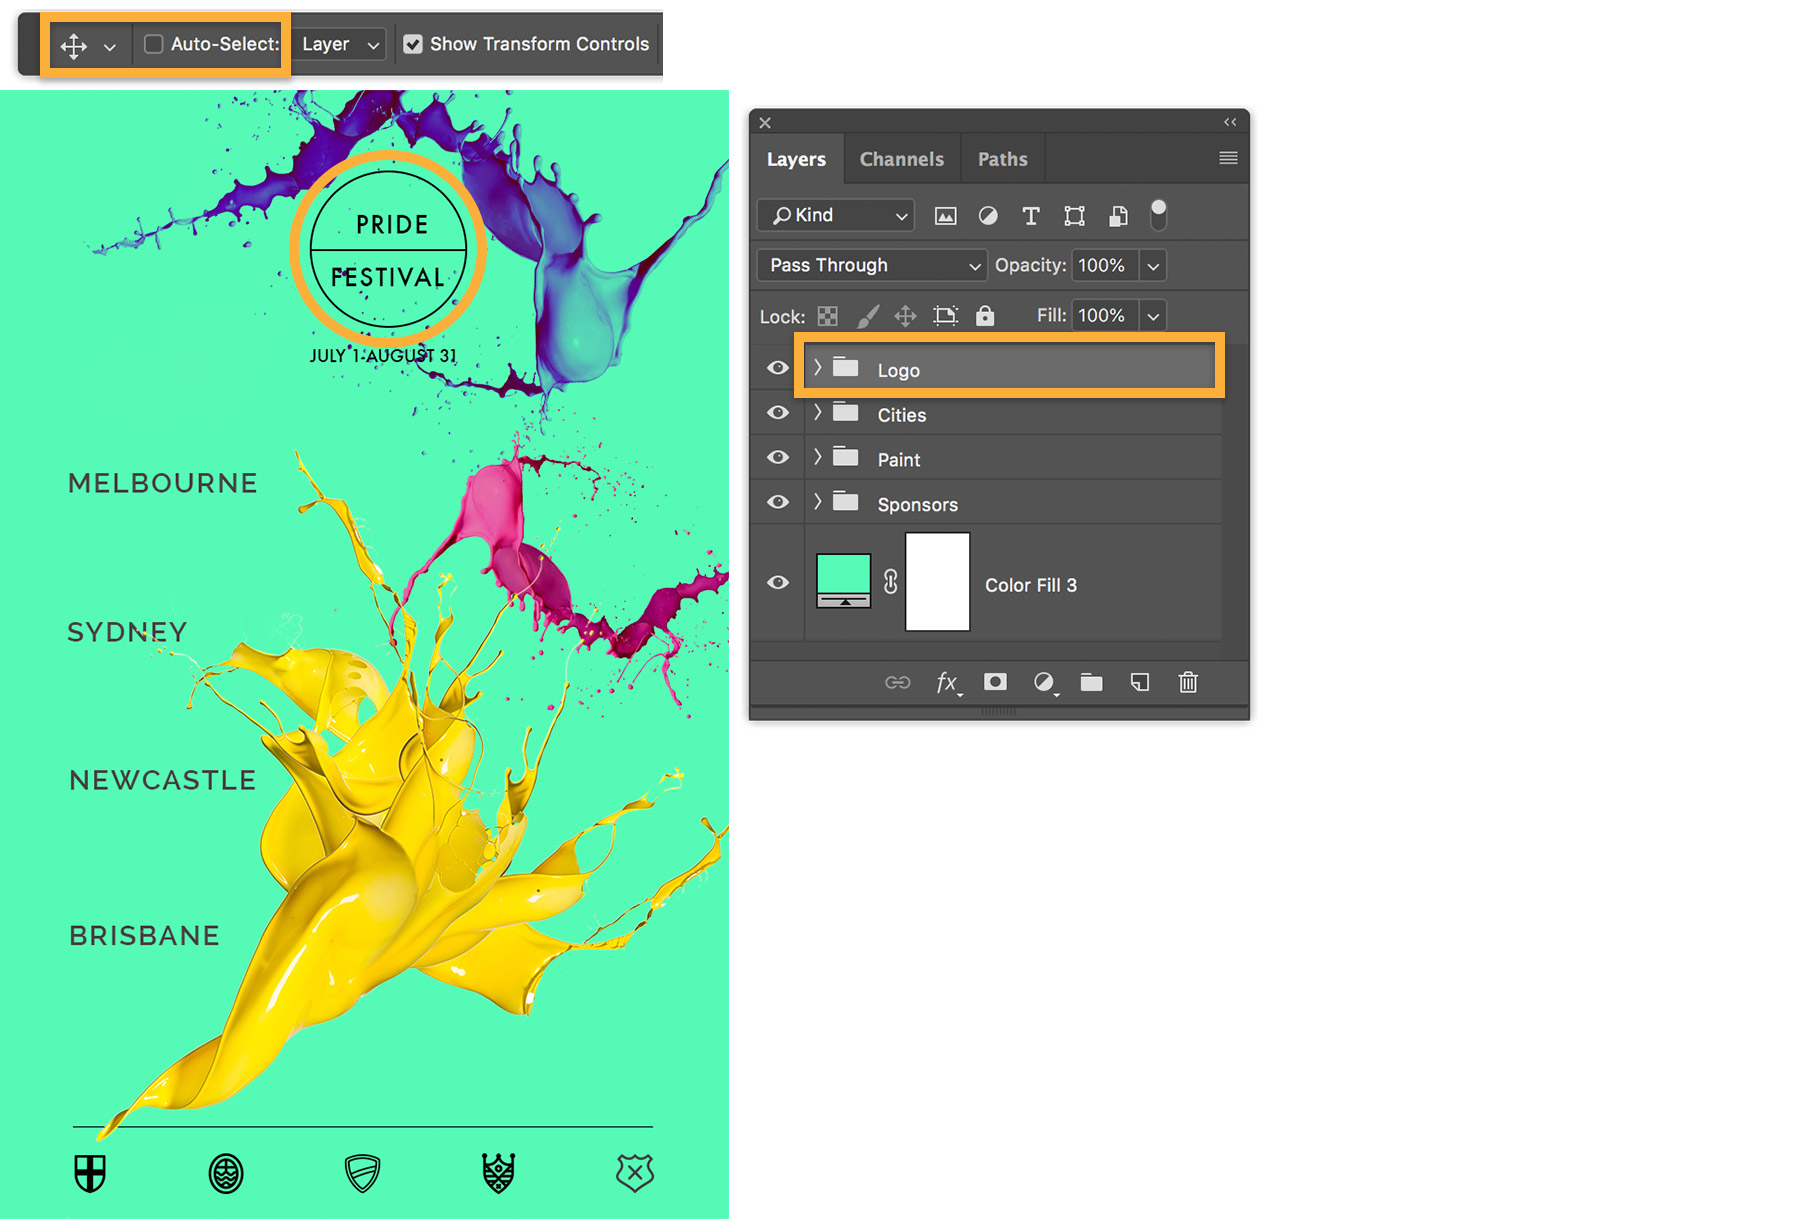
Create a layer group
You can create a layer group in Photoshop by pressing the Command or Control key. This will merge all of the selected layers into one group folder. Alternatively, you can click the folder icon at the bottom of the Layers panel. Either way, you’ll save time, and the keyboard shortcut will save you a step. You can use the manual workaround, too. This method will help you quickly add layers to a group of layers.
To create a group in Photoshop, open the project that contains layers. In the Layers panel, select the first layer. Hold the CTRL or SHIFT keys, and click on the layer. If you accidentally select a layer, simply click it again. Next, press the keyboard shortcuts CMD or CTRL + G to group all of the selected layers. Groups are also useful for mass-applying effects, such as moving, resizing, and using layer masks.
Link layers together
One of the most basic ways to move and transform two or more layers in Photoshop is to link them together. To do this, select the layers you want to link, and click the empty square next to the eye icon. Once the layer is linked, a chain icon will appear beside it. Unlinking a layer will revert the link, allowing you to move or transform it independently. Here are some tips to link layers together in Photoshop.
First, you should know what linking is. Linking allows you to put two or more layers into the same group or section in the layers stack, so you can move them around on the canvas with ease. While grouping allows you to move all the layers into the same spot, linking allows you to edit each one separately. In addition, you can use linked layers in conjunction with layer groups to organize and move related elements around. Just be sure to use a layer group when necessary to protect your work from unwanted edits.

Remove a layer from a layer group
You can remove a layer from a layer group in Photoshop by dragging it to a different folder. However, there are times when you may not be able to distinguish whether a layer is inside of a group or not. If you want to remove a layer from a group, you should first make sure that you are not deleting it completely. There are several ways to do this.
One way is to rename the layer. When you double-click on a layer, Photoshop highlights its name, so you can type the name of the layer. Press Return or Enter if you’re using a PC. Double-clicking near a layer name opens the Layer Style dialog box. Choose the style you want to apply to the layer, then click OK. Once you have made your changes, the layer is no longer visible.
Mask the contents of a layer group
If you’re interested in transforming an image, you can use layer masks to change the look of it. You can hide part of an image while revealing the rest. You can also mask the contents of a layer group to create a collage. To make a mask, select the layer to be changed and click the Add a Mask button. This will apply to all type layers in that group.
In photoshop, you can use layer groups to organize your image. You can use the Layer Group option to mask multiple layers at once. Click the Add Pixel Mask or Add Vector Mask icon in the Layers panel to change the visibility of all layers inside a Group. You can also change the visibility of individual layers in a group by clicking the “Okay” button. Masking multiple layers in a group can help you create an effective composition.

Set the opacity of a layer group
In the Layers panel, you can set the opacity of a layer, group, or selection by adjusting the percentage of opacity on that particular layer or selection. Opacity controls the visibility of other layers through this layer. You can also color-code the layer or change its mode to create special effects. If you’d like to see how this process works in a step-by-step guide, continue reading!
To set the opacity of a layer group, you first need to select it. This is usually done by double-clicking on the layer or group that you want to edit. Click the Opacity option in the Properties panel to view the opacity setting for that layer or group. By default, background layers and locked layers can’t be adjusted in opacity. To change the opacity of such layers, you can convert them into normal layers.