
How to Invert a Selection in Photoshop
To confirm that you have successfully inverted a selection in Photoshop, check for the “marching ants” effect. In this effect, a line of ants will surround the original selection, moving around the image’s border, but not touching the new inverse selection. This means that you’ve successfully inverted a selection. To avoid this effect, make sure your original selection is empty. To ensure that your inversed selection is empty, click the “marching ants” icon in the upper-right corner of the window.
Select > Similar
Invert selection is one of the features in Adobe Photoshop that allows you to flip a selected element. By default, it will select everything in a layer, including elements that are no longer selected. You can also choose to invert the selection, which is useful if you want to remove parts of the image. The inversion process is fairly easy, and is available for various editing tools. Read on to learn how to invert a selection in Photoshop.
First, you need to physically select the selection. Choose the tool for the task and be careful to use the selection carefully. Then, you can reuse the selection for many times. Photoshop has a shortcut for selecting something again and inverting it: Shift+Ctrl+I. It will only work if the selection is not completely obstructed by other layers. To invert the selection of an entire layer, you must first select it with a selection tool.
Edit > Paste Special > Paste Outside
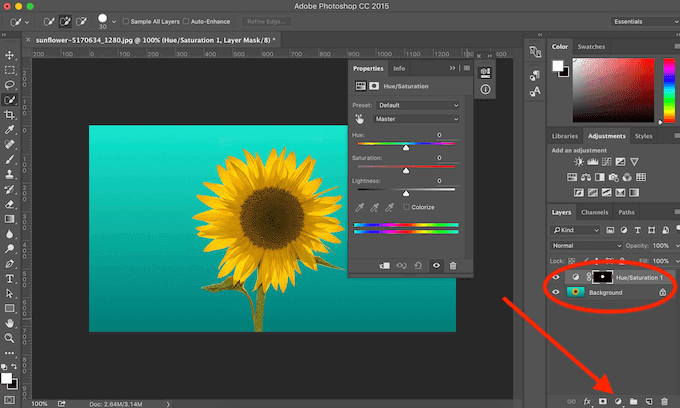
In Photoshop, you can invert your selection. Basically, you’ll select an area and then click the invert selection command to turn it into the opposite selection. This will apply only to elements that were previously selected, such as the sky. This is a helpful tool if you want to apply a mask to a selection, but it can also affect an entire image area. Here are some tips to use this feature.

To invert a selection, first select the area of the layer that you want to invert. Using the Rectangle tool or the Lasso tool, you can select the area you want to invert. Another method is by pressing the shortcut key Ctrl+I. It’s best to invert a whole selection rather than just a part of it. Just make sure that the selection is not already inverted, or you will end up with a mess.
Magic Wand
Using the Magic Wand tool to invert a selection in Photoshop is easier than you might think. The process is very quick, and you can select an entire area instead of just the object itself. The Magic Wand tool also works with layers to prevent accidental editing. You should duplicate layers before editing your image, as it will save you time in the long run. Then, you can use the Quick Selection tool to edit highlights.
You can also use the Ellipse Select Tool to create circular or elliptical selections. The Magic Wand Tool is a quick, easy way to select similar colored areas. All you need to do is click and drag your mouse cursor across an image. To fix a selection, release the mouse button. The edit operations will be confined to the active selection. Alternatively, you can invert selections to restrict drawing to a small portion of an image.
Object selection tool
There are three effective methods to invert selection in Photoshop. The first method involves activating the selection. Next, select the “Invert Selection” command from the menu bar. The selected area will be inverted, with the objects outside the selection appearing inside the selection. If you are using an older version of Photoshop, you can use the “Standard” option. If you find this method slow, use the “Standard” option instead.
The second method involves using the new selection tool, which appears on the options bar. To use the New Selection feature, you should first make a selection. Choose carefully and use the appropriate tool for the job. If you make a mistake and accidentally delete it, you can always select it again. You can also use the keyboard shortcuts to reselect something or invert a selection. After making a selection, you can use the arrow keys to move it in one-pixel increments.

Inverse command
The invert selection command in Photoshop allows you to flip the selection in your current layer. The inverted selection includes the contents of the layer outside the selection, and the contents inside it. This command is especially useful if you want to cut out objects from an image. To invert a selection, activate it by clicking on the toolbar icon at the bottom-left corner of the screen. Then, choose the menu option, Select – “Inverse.”
The selection should be either a solid color or a selection border. To invert a selection in Photoshop, you need to use the keyboard shortcut Ctrl+T. Then, you can use the marquee tool to invert the selection. If you have multiple selection tools, you can also select a single area and click on the marquee tool to invert it. Using this tool, you can make your selection a selection of multiple areas in a photo.
Cleaning up a selection
The Content-Aware Fill command enables you to select a custom area for sampling texture. To do this, navigate to Edit > Content-Aware Fill. Next, create a selection of the area you want to clean up. Select Custom for Sampling Area Options, and paint the areas you want to use. You can also adjust the fuzziness of the selection to create the desired effect. This way, you can make a clean cutout while maintaining a non-destructive workflow.
Quick Mask mode lets you easily edit the selection without affecting the rest of the image. To enter Quick Mask mode, press the Q key or click the circle-within-a-square icon in the Tools panel. Once in Quick Mask mode, Photoshop will check to see if the selection is active or not. If it’s not, it will overlay red on everything except the selection. The good news is, it won’t change the image unless the active selection is deleted.