

How to Use the Patch Tool in Photoshop
The patch tool in Photoshop is an excellent tool for fixing image imperfections. Its unique algorithm allows you to apply a patch over any image and can even be used to repair photos. To use it, just open an image and click the patch tool button. Once the tool has completed the patching process, you can clean up the patched area. In the following paragraphs, we’ll discuss the basics of using the patch tool in Photoshop.
Normal mode
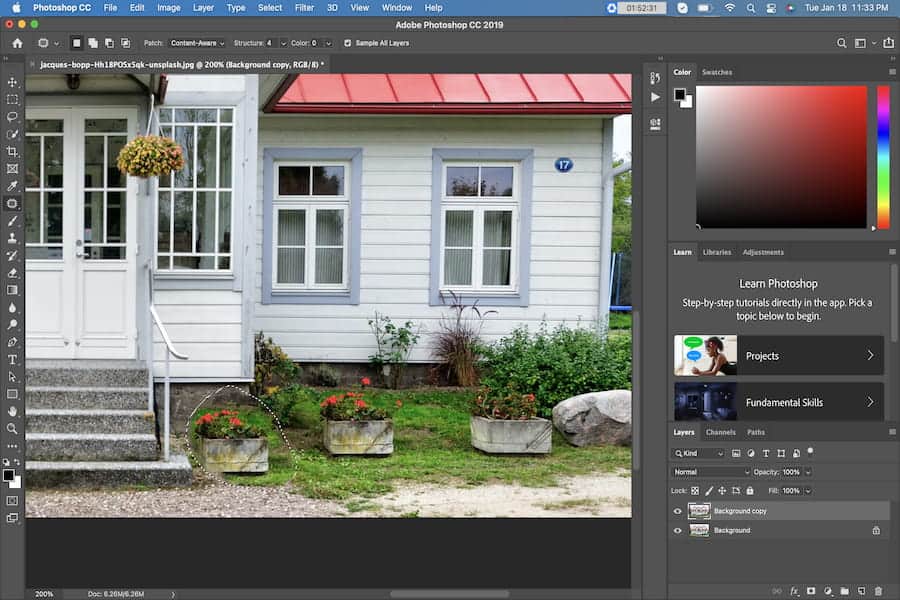
To use the Patch Tool in Photoshop, you first need to select an area. It’s a similar process to the lasso tool, in which you hover over the area and drag it. Photoshop displays a preview of the patch as you drag, and blends the pixels evenly as you release the mouse button. Then, you can deselect the selected area by pressing Ctrl or Cmd+D.
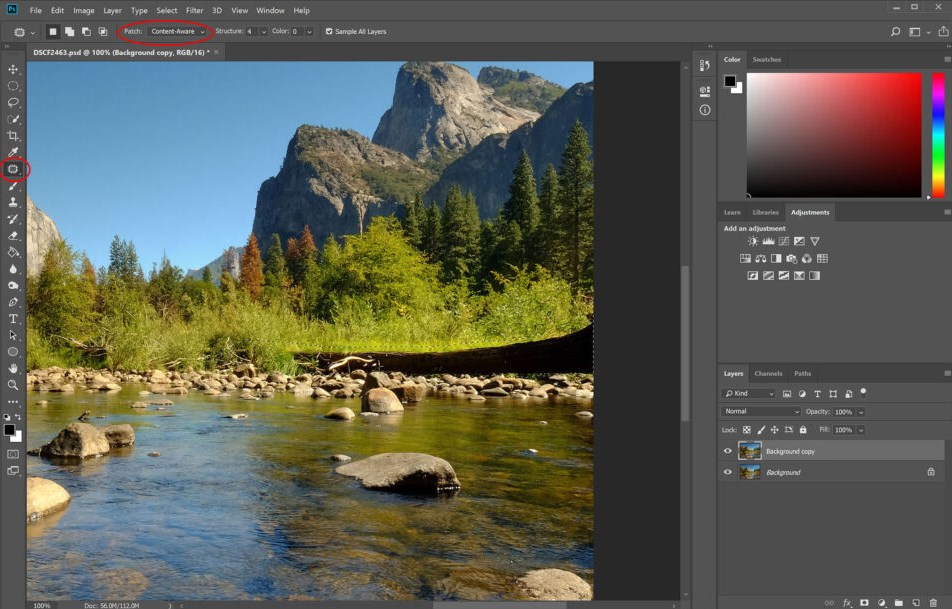
After selecting an area of the image you’d like to edit, use the Content-Aware mode. It will make the patch reflect the original image’s structure. You can also adjust the amount of color blending by selecting either Color Adaptation or Structure. Both these options indicate how closely the patch will reflect the image, and the default value is 10.
Content-aware mode
One of the features of the Photoshop patch tool is its Content-Aware mode. This mode allows you to adjust the patch’s properties based on the image’s content. The Diffusion option controls how quickly a patch will blend with surrounding pixels. The Structure setting controls how much of an area should blend with surrounding pixels. The Color option sets the amount of pixels to blend with surrounding layers. In general, Content-Aware mode is recommended for images with lots of text and objects.
Before using the patch tool, you should first select the area you want to edit. You can also use the selection tools available in Photoshop to make a selection. The first block icon in the upper setting bar will create a new selection; the second block icon will add or subtract from the current selection. The last block icon will intersect the new selection with the existing selection. When using Content-Aware mode, you should always select the pixels you want to replace before deleting the original pixels.
Problems with the patch algorithm
If you are editing an image, you may notice irregular areas in it. In this case, the patch algorithm isn’t always accurate. This can lead to bad results. For example, the patch will not cover the edges of the image correctly. So it might be better to paint the edges with the right color to cover the irregularities. Unfortunately, this method will take more time than you’d think. Fortunately, Photoshop has built-in support for repairing this problem.
In the above procedure, the 11×11 patch is created as a sub-image of the gray image. It is then rotated to the opposite direction of the gradient. For example, if the gradient is positive, the patch center will always point to the right. In the same way, the 3×3 transformation translates to translation: it moves the center of the patch over the origin and rotates it back to the original position.
Cleaning up the patched area
To use the Patch Tool in Photoshop, you must select the part of the image you want to repair or sample. You can do so by clicking on the selection and dragging it around the image. Then, you can adjust the selection using the Shift and Alt keys to add or subtract pixels from the selection. You can also use the Move command to move the patched area and blend it in with the surrounding pixels.
The patch tool is similar to the healing brush in Photoshop. It works by selecting an area and dragging it over it. Then, Photoshop will copy that selection and feather it out so it looks seamless. This tool is also helpful in cleaning up the patched area after using it. It is very useful when working with areas that have little or no space around them, or when you want to add a little more texture.